Put it on WordPress (your own hosting)
Last updated
For a WordPress site on your own hosting (WordPress.org). On WordPress.com, see WordPress.com. The codes come from your admin, Install tab.
With the IronMile Studio plugin (simplest)
- Download the plugin (also linked in your admin, Install tab). In WordPress: Plugins → Add New Plugin → Upload Plugin → choose the zip → Install Now → Activate.
- Settings → IronMile Studio: paste your configurator’s address once.
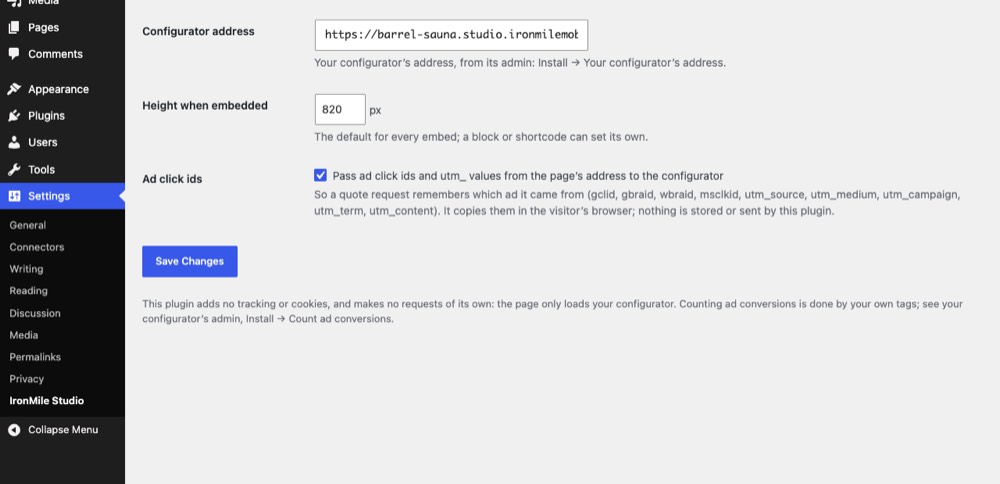
The plugin’s settings (a local test site). - Edit a page, add the IronMile Studio configurator block (search “IronMile”). In the block’s sidebar you can choose embedded or a button, the height, and a build to start with (the part after
#in a link to a build). Or type the shortcode[ironmile_studio], or[ironmile_studio mode="button"].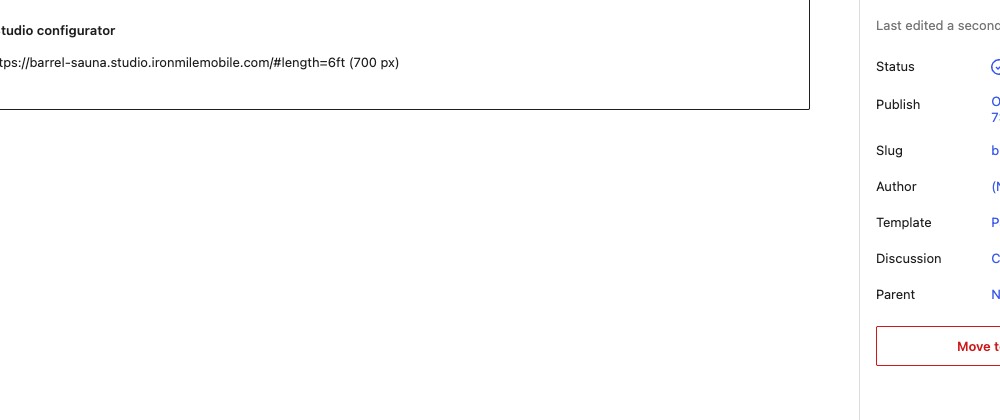
The block in the editor; the page shows the configurator itself.
It passes the ad click ids for you, loads nothing but your configurator, and adds no tracking or cookies of its own. Requires WordPress 6.3 or later.
Without a plugin
- Edit the page, click + (block inserter), search Custom HTML and add it where the configurator should be.
- Paste the code from your admin. In WordPress 7.0 and later the block has separate HTML, CSS and JavaScript panels: paste the whole code into the HTML panel.
- Preview, then Update (or Publish).
Only users allowed to post unfiltered HTML (Administrators on a single site; Super Admins on a multisite network) can save the code; for anyone else WordPress removes the iframe and the script when saving. Page builders: Elementor’s HTML widget and Divi’s Code module take the same code.